1920s dress, "Katsby"
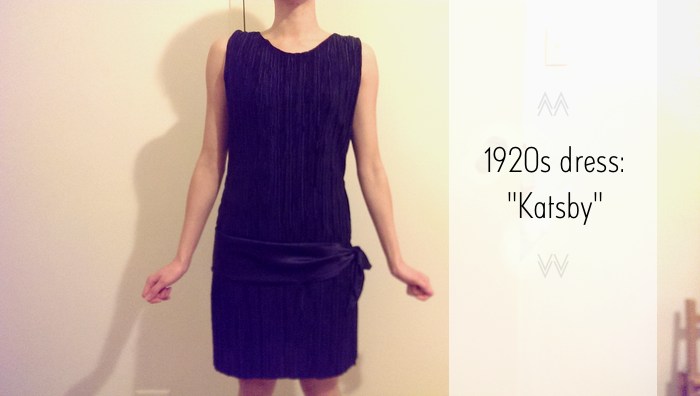
My latest experiment has been a 1920s style dress. The first social event at my new job is a Gatsby themed cocktail party. I didn't want to spend a lot of money, so decided it was time to learn to make clothes. Mum was my phone-a-friend all the way, talking me through every step. I learned so much from just this one basic project.
Turns out the 20s is a great era for one's first dress. [Styles were simple enough for fashion to be produced at home.](http://www.fashion-era.com/flapper_fashion_1920s.htm#Attainable Fashion For All) Both the wealthy and working class could party together and neither would know the difference. I immersed in Pinterest and found there's actually a lot of familiar stuff from that time. A portion of Downton Abbey is set in 1922. And some songs I grew up with - "Baby Face", "I Wanna Be Loved By You", "Singin' in the Rain" - were so hot back then.
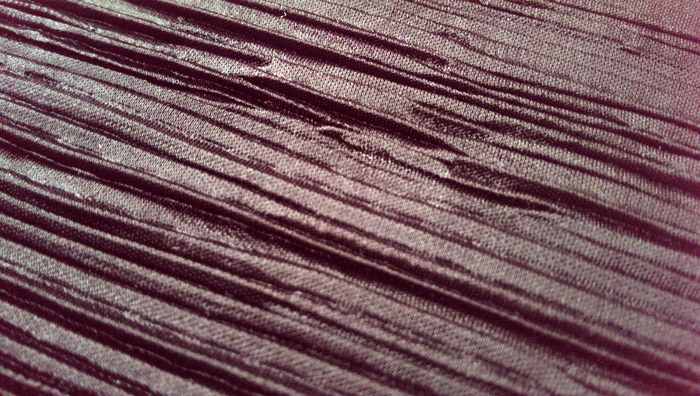
Mum and I found a great material - a black pleated non-woven polyester, both tricky and forgiving for a beginner. I'll get to why in a sec.
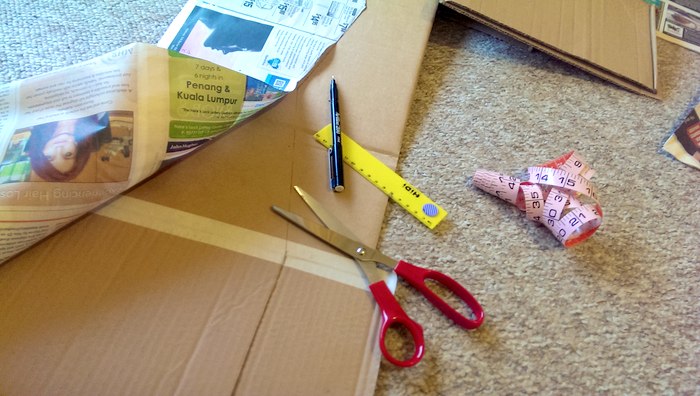
Making a pattern came first. It took a whole afternoon, but Mum gave pro tips on doing it easy:
- Take body measurements.
- Make cardboard cutout of body measurements.
- Use cutout as a 'stencil' for pattern design.
- Draw the pattern.
- Cut.

Here's the pattern for the front and back panels, drawn from the stencil (black line) and cut a half-inch out. This is the seam allowance, which is very important, don't get so engrossed in crafting that you forget it, which I very nearly did. Notice how it's only half a panel - we cut the fabric folded to save on effort (another pro tip from Mum).
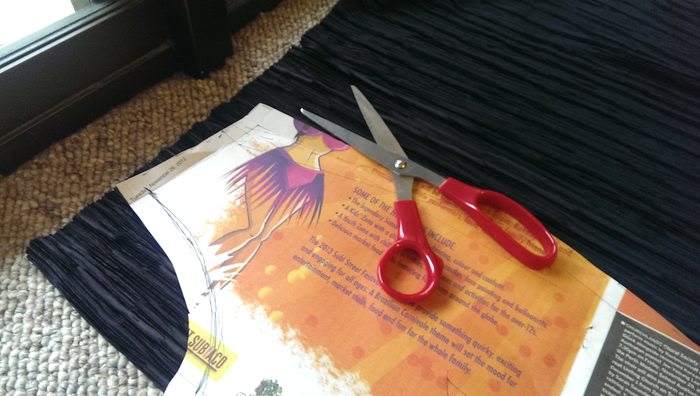
Usually, you'd use tailor's chalk to mark cut lines on the material, but chalk wouldn't take to the polyester, so it was all pins and guesswork for me.
And this was one reason why this fabric was hard to work with. Keeping it loose while cutting, so the pleats wouldn't stretch out, was another. However...
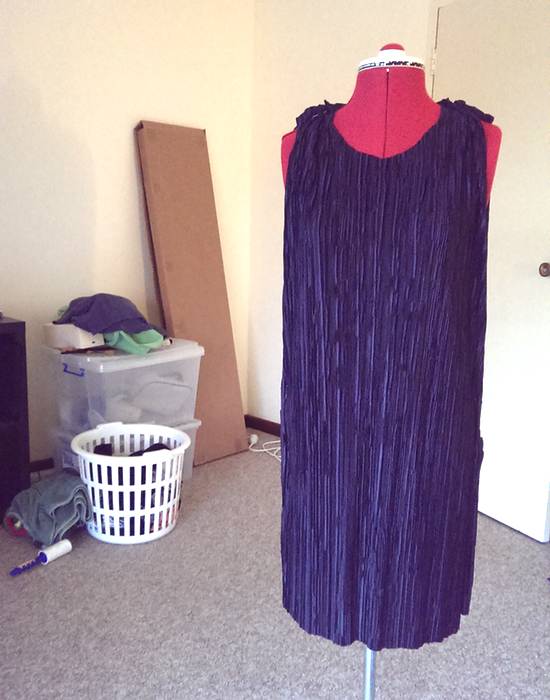
Here are the panels pinned together. The cut was rough, asymmetrical and uneven, but you really have to look to be able to tell - most of the mistakes are hidden by the way the fabric behaves. So this is the payoff for the trickyness.
The rest of the story is straightforward, but let me highlight the interesting points:
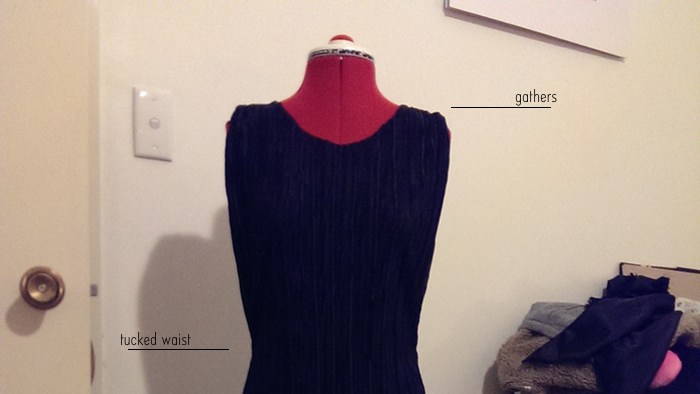
Gathering the shoulders: To allow for fullness around the bust (even though I don't have a full bust), we gathered the shoulders. This tutorial shows how to do it on a basic sewing machine, but next time on a soft material like this, I would try hand-sewing the long stitches.
Tucked waist: Flapper dresses aren't supposed to have waistlines. Almost all the information I found reported shapeless garments in a post-war time of ditching tradition and corsets. But I would drown in a shapeless dress, so my version has a slight, loose-fitted waist.
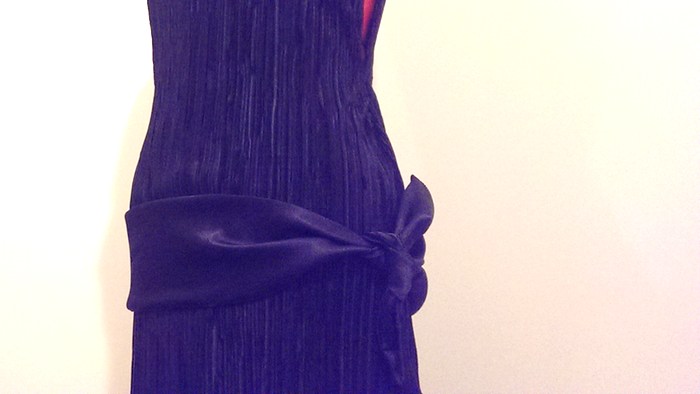
Dropwaist sash: A key feature of 1920s dresses is the dropwaist, shifting waistline features to the hips and elongating the body. This dropwaist is accentuated by a satin sash attached by tiny hand-stitching. The tied part is loose for adjustable fit. I'm especially happy with this part, as it looks clever and deliberate, when really, it was an easier alternative to making a plain sash and getting it to sit straight. :)
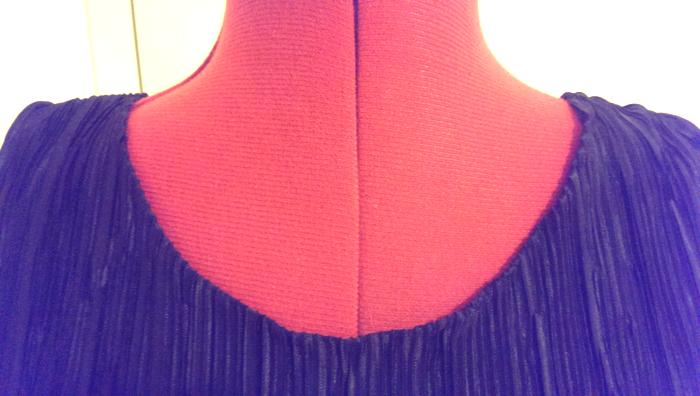
Hems: Finally, the neckline and sleeves, were hemmed with tiny hand-stitching in strategic spots. I learned that making tiny stitches on a concave part of a pleat makes it all but invisible from normal distances. I would be most upset if someone could actually see them, because it means they're standing too close like a gawky creeper.
Here is Dora being helpful.
The experience of making this dress was transformative. I feel confident with this craft now. I have a cardboard cutout of my measurements to use in future projects. And I've had terrible eczema for the last two weeks - this has helped keep my mind off the misfortune, and scratching fingers off my skin.
All up, I spent $35 on fabric + 12 hours over 5 days on labour. The pattern was improvised from simple shapes, scrap newspaper and an old cardboard box. Still to go are shoes and accessories, and I'll share full styling details and cost breakdown for the entire outfit soon.