DIY hardcover case for a Kindle
Make your own hardcover e-book reader case from household craft scraps.
I bought a Kindle last month, and was determined not to let this new possession possess me - and buy itself a case, decals, bells and baubles. I fall into this trap often, and while sometimes it's necessary, it didn't seem necessary here. I did want a case, but I would have to make it myself.
I remember the first time I felt profound disappointment at a purchased item. The seam had come loose on my wallet, and I discovered beneath the factory-perfect machine stitching, behind the synthetic woven fabric... a sheet of cardboard. No different to a cereal box, just sans printing. The spell of storebought was broken.
Since then, I mentally deconstructed everything that crossed my path. Over the years, I found similar patterns of deconstruction used in everything from books to purses, clothing to cat toys. I couldn't replicate those patterns as perfectly myself, but felt increasingly sour about paying $50 for something that was essentially scrap paper, cotton and glue.
There's more to it, of course, and that's the more I want to learn by doing.
So here's my first hardcover item - a Kindle book cover. It's roughshod, and I would do some things differently next time, but just a few tools and salvaged materials can really go a long way.
Pattern
Mount fabric panels onto cardboard for stiff, nice-feeling things.
Materials & tools
- 1 cardboard
- 2 x scrap fabric pieces
- PVA glue (white)
- 4 strips of elastic
- Scissors
- Glue brush
- Sewing machine
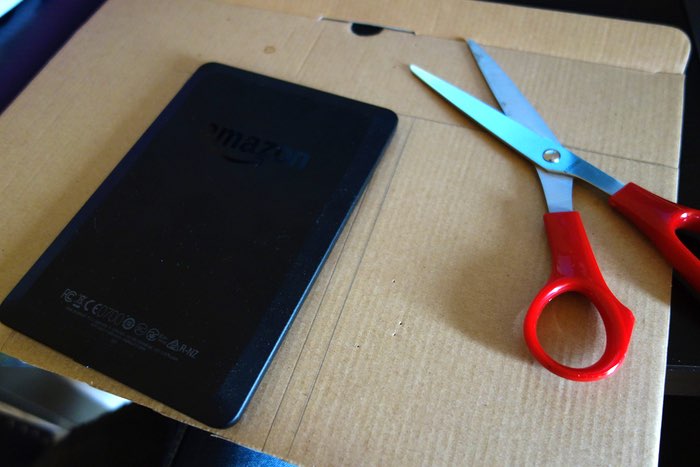
Measure your cardboard frame using your object (Kindle, tablet, notebook, whatever). Cut the cardboard slightly bigger than you need to - this leaves room for the thickness of the fabric when it bends.
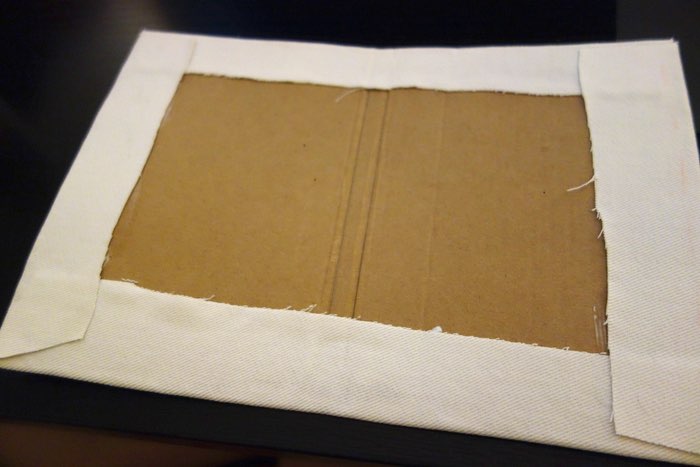
Brush glue on one side of the cardboard and stick one of the fabric pieces to it. Trim the fabric, leaving a 2-3cm edge around the cardboard. Fold the edges over and glue to the other side. This is the outer cover of your case.
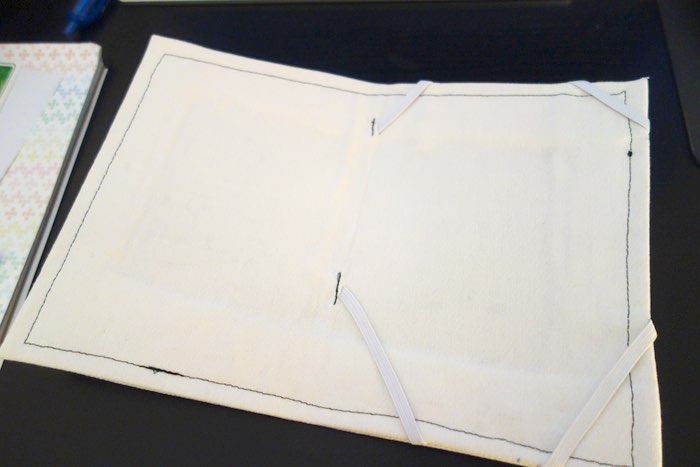
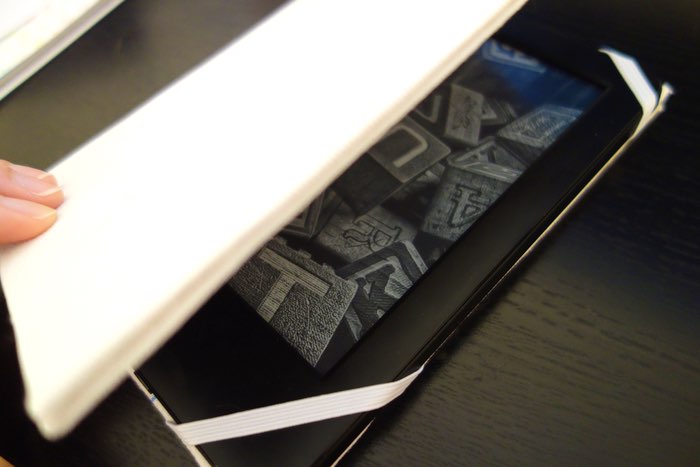
The inner panel is fiddly. Measure the fabric, and fold and pin the edges. Measure against the object and mark where you'll need the elastic holders attached to the fabric. Judge this based on your object, so the screen or buttons aren't obstructed. Pin elastic to fabric, except for the ends that go near the spine (we'll do this later).
Hem the edge, stitching across the elastic when you get to it, being careful not to attach the elastic on both sides of the fabric. That's the fiddly bit, so think about it beforehand. The elastic has to be loose on the other side, so the corner of your object can slide in.
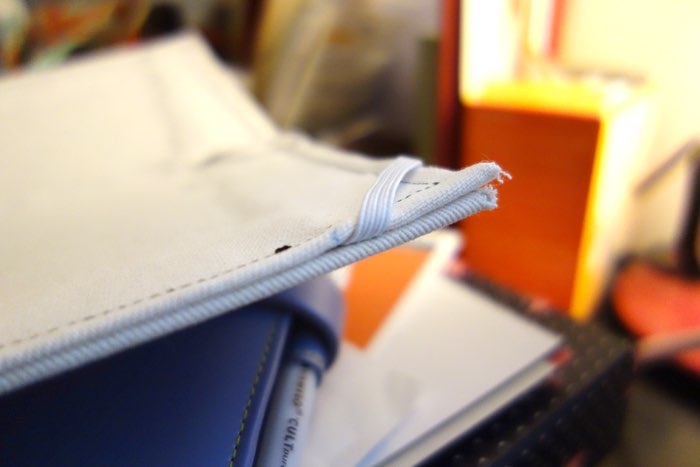
You can reinforce the elastic with another line of stitches across the loose edge of fabric.
Now that the hem's done, we'll attach the remaining 2 ends of elastic. Where your markings are, cut a tiny slit, just enough to thread the elastic through. Stitch a line parallel to the slit, attaching the elastic to the other side. It'd look better to stitch a rectangle all around, but I didn't bother.
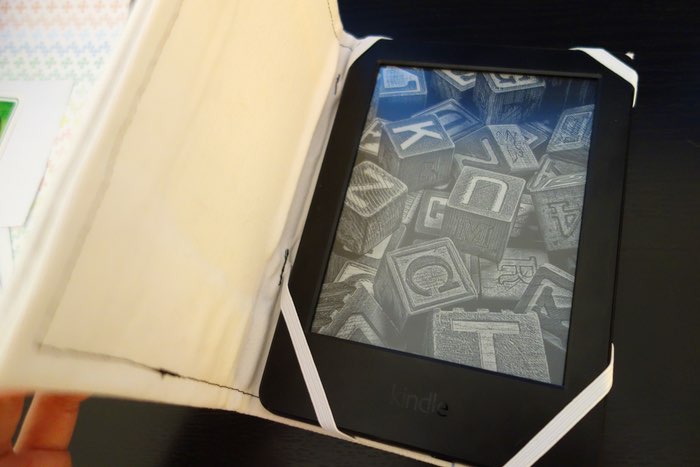
Finally, brush glue onto the inside of your book cover and stick on your newly assembled panel.
Learn from my mistakes
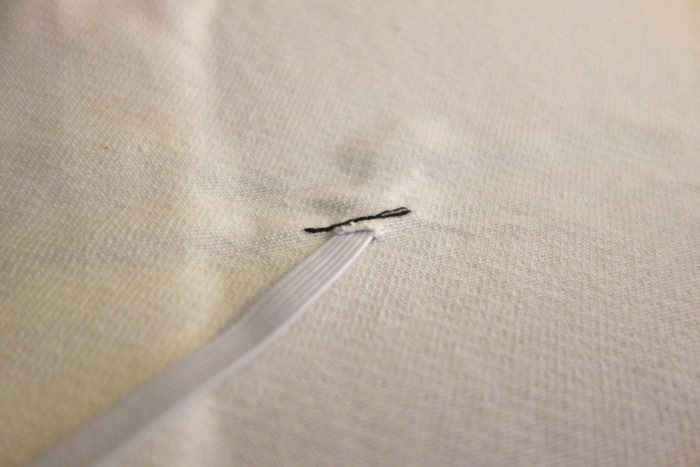
- Don't use a pen to mark where your elastic goes - this isn't something you'll put through the washing machine after!
- Wash your brush between uses so the glue doesn't dry on it.
- Don't put your cover near piles of cat hair while the glue is drying.
- If your scrap cardboard has printing on it, choose a thick, sturdy fabric that you can't see through. Or just avoid light colours altogether. Or prepare to decorate. :)
- Consider a third piece of fabric to sandwich between the hard cover and the inner panel, so you don't get a dent where there are fewer layers of material. (pictured below)

Happy making!